Star War is, obviously, quite popular and while it’s not my absolute favorite, I’ve had a long standing love for the X-Wing Fighters. I wasn’t overly amused by the JJ-ization of the new X-Wing, but it wasn’t as bad as some of his other stuff, and I was very eager to get my hands on a Bandai X-Wing from the new movie. I won’t go into the whole thing about the Bandai Ban, but I was kinda pissed, especially after seeing first hand the quality of the other Bandai models in my stash.
Anyway, then came The Force Awakens toy day, or whatever that was, and I thought what the heck, I’ll go and get one of the Revell X-Wings. I was a bit surprised that the only thing out was a level one model. Other modelers were more than a little pissed, but since I’m not the most experienced of modelers I took it as an opportunity for me to practice painting up what was clearly more of a toy than a model.
To start with, these pictures are what you get out of the box:
Not a whole heck of a lot, and, in fact, as I commented on Facebook, the thing would probably take about five minutes to put together — and that’s if you stopped to eat a cupcake along the way. Still, as someone who really needs panting practice, it was a fine opportunity for me to do just that on an inexpensive model.
The first thing I noticed was that there were not a lot of diverse sources of research material — no surprise as at the time of the build, the movie was still over a moth away. I did find a couple of decent pics so I went with those.
One of the first things I did, was spend a bit of time matching the blue paint. Once I had something I thought was pretty close I decided to go off-book, so to speak, and add a wee bit of color to a few places.
(The areas I added are in the red boxes)
I also added a touch of grey paint on the top of the body later on just because. I’ll leave it to the viewer to find them.
The lasers at the end of the wings were designed so that they could be put in any slot. This left big, gaping holes in the things once they were installed, so I took care of that with some putty. It wasn’t the greatest putty job, but it wasn’t very noticeable once everything was painted up and weathered. Also, I wanted to try out a new type of putty (Apoxy Sculpt), and I’m happy to say not only did it work well, but it was pretty easy to work with.
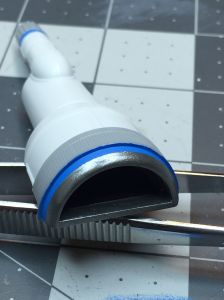
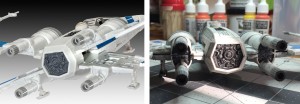
Here are some close ups of the intake work that I did.
Again, I used the best match that I could for the blue. Plus, I thought that the inside of the intakes needed to be black, because you know, dirt and stuff. These things are supposed to be in-atmosphere as well as space craft.
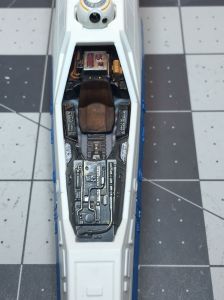
By far my most favorite part of painting this model was the cockpit. Having spent time in actual jet cockpits, and having no actual source material to go with, I just went with what I thought looked right.
Just for kicks, I took a picture of the unmodded vrs modded views:
Once I had all the bits and pieces painted, it was time to put it together, which, as I said, took all of 2 minutes (I didn’t have any cupcakes in the house). Then came the overall weathering.
This was a bit of a challenge for me because weathering something that’s white, and not OVER weathering it, wasn’t something I’d done before. For this I used a medium gray wash, diluting it something like 5 to 1. I quickly discovered that, for me, the best way to do it and end up with some decent panel lines, was to wash the whole thing, then mostly wipe it off. I rewashed a bunch of the panel lines to make them come up, using I think, a 4 to 1 wash JUST on those panel lines that I thought were too faint. I did the weathering in stages, starting with the assembled wings.
Once those were finished, I did the lasers, put the rest of the model together, then did the wash.
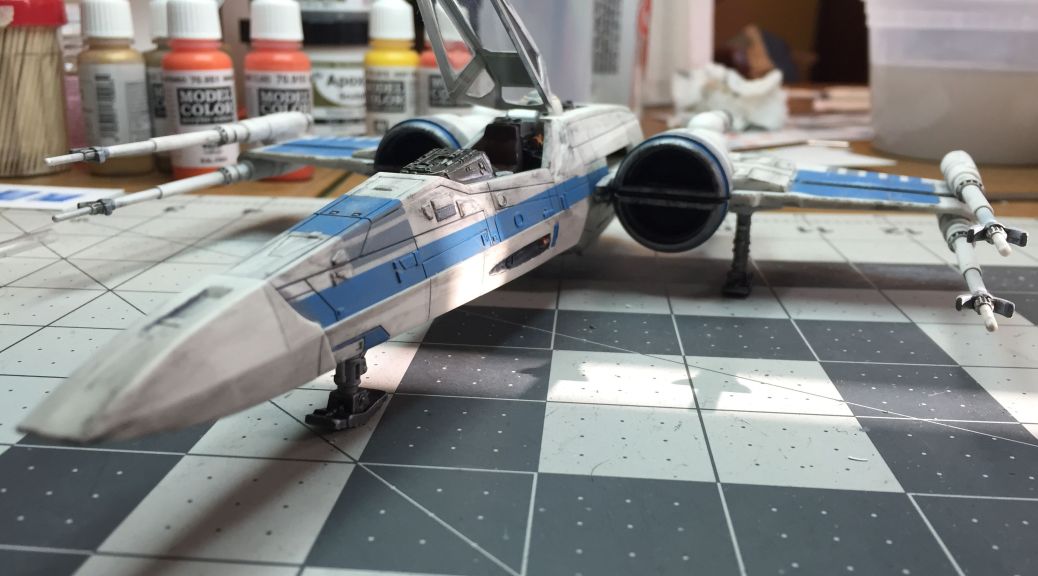
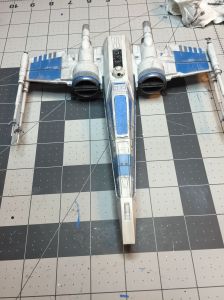
Finally, I dry-brushed black on various parts of the model to add a little more realism. I’d already taped the canopy, so this is the model just before the dull-coat.
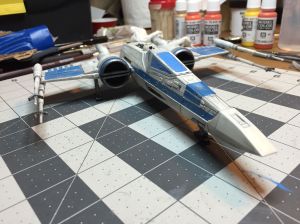
Just for kicks, I did some before and after pics so you can see that while the model is quite simple, you really can do some great stuff if you decide to paint it up.
And here is one shot of the final model. I don’t think it turned out half bad for a level one model. Feel from to jump on over to the Gallery for more shots of the final model.








Nicely done! I am disappointed there aren’t too many good, affordable options for new Star Wars kits out there. You made this one look really good!
LikeLiked by 1 person
Thank you. As I mentioned above, it was really just for me to practice painting. I know that Revell has a Level 2 out this month, but I’m pretty sure I won’t be buying it. The masters level models are also coming, and I might take a look at that — depending on the cost, of course.
LikeLike
Thanks for showing us your work – very nice! Neat trick I just discovered – use chalk pastels (not oil or wax ones!) – you can get them in various earthtones. Sand them into a powder and dry brush them on as a final weathering step – makes the most amazing grime, oil streaks, rust, etc. Don’t forget to fix them with a spray clearcoat afterwards. Until then, you can wash them off with water and start again as many times as you like. Never stop dreaming!
LikeLike
I actually have some of the pastels that I wanted to try. I should have thought to try them on that model because it’s not a very expensive one. It’s a good thing that I uh… somehow ended up buying another one, eh? 🙂
Thanks for checking out the page!
LikeLike
Here’s how they turned out on my AT-ST figure from the Imperial Assault boardgame: https://twitter.com/KenHallArt/status/687269106563825665
LikeLike
Nice work there! I have a couple of the Bandai AT AT models that I want to build. Probably won’t be experimenting on those though.
LikeLike